Getting Started (Office Staff)
This article is for office administrators (who we refer to as Office Staff) who want to get started with TrackTrade ASAP. We will login and walk you through some typical usage.
Contents
Note: TrackTrade works great on either desktop or mobile devices but for Office Staff and for this article we generally assume you are on a desktop. If interested in installing the TrackTrade app on your mobile phone or tablet check the guide here.
Logging in
You're going to need 3 things to proceed:
- the URL of the TrackTrade portal
- your login
- your password
Note: The URL should look like {organisation}.tracktrade.co.uk (e.g. johnsrepairs.tracktrade.co.uk).
If you don't have these then please get in touch with your TrackTrade rep.
We recommend Chrome or Safari as your web browser.
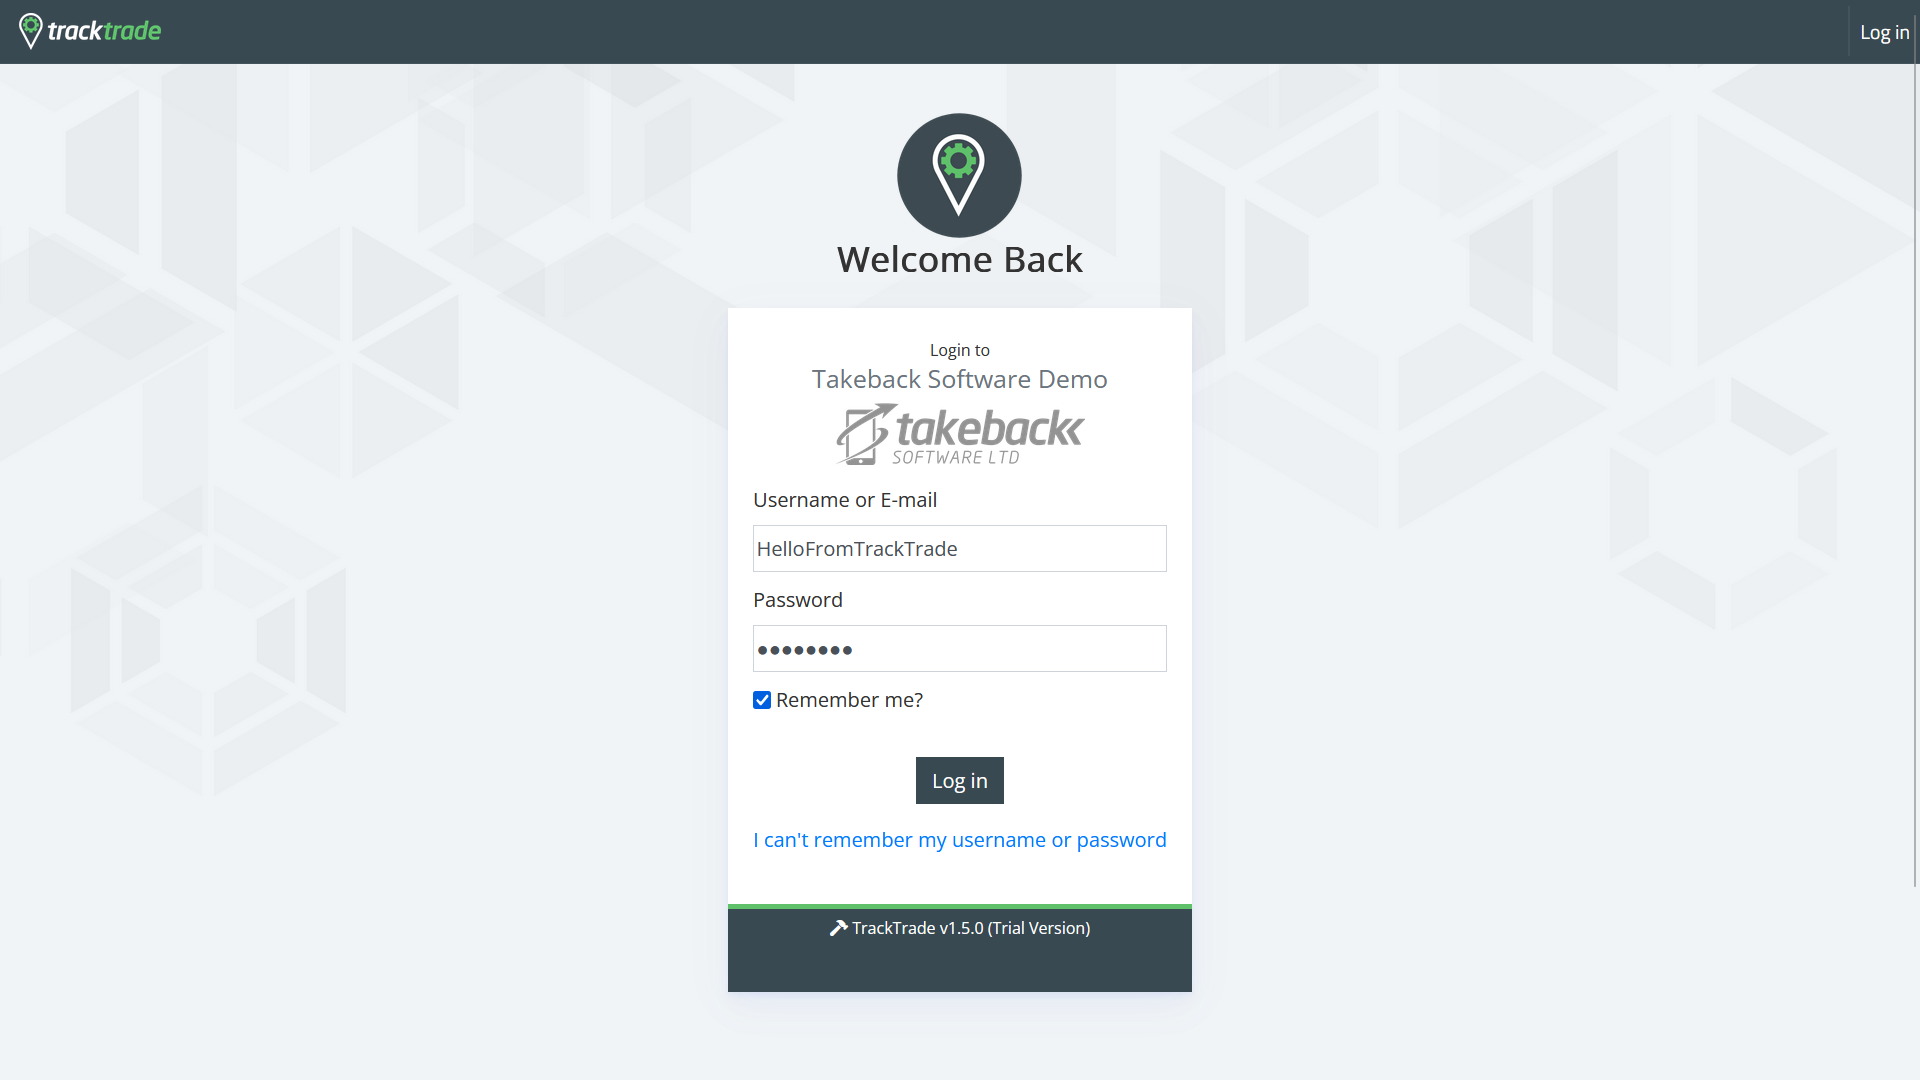
Simply head to your organisation's unique URL and enter the login details we have provided to you!
Overview and Sidebar
The Overview page is the first thing you will always see upon logging in. It serves as a great visual of the status and progress of your currently active Staff and Jobs.
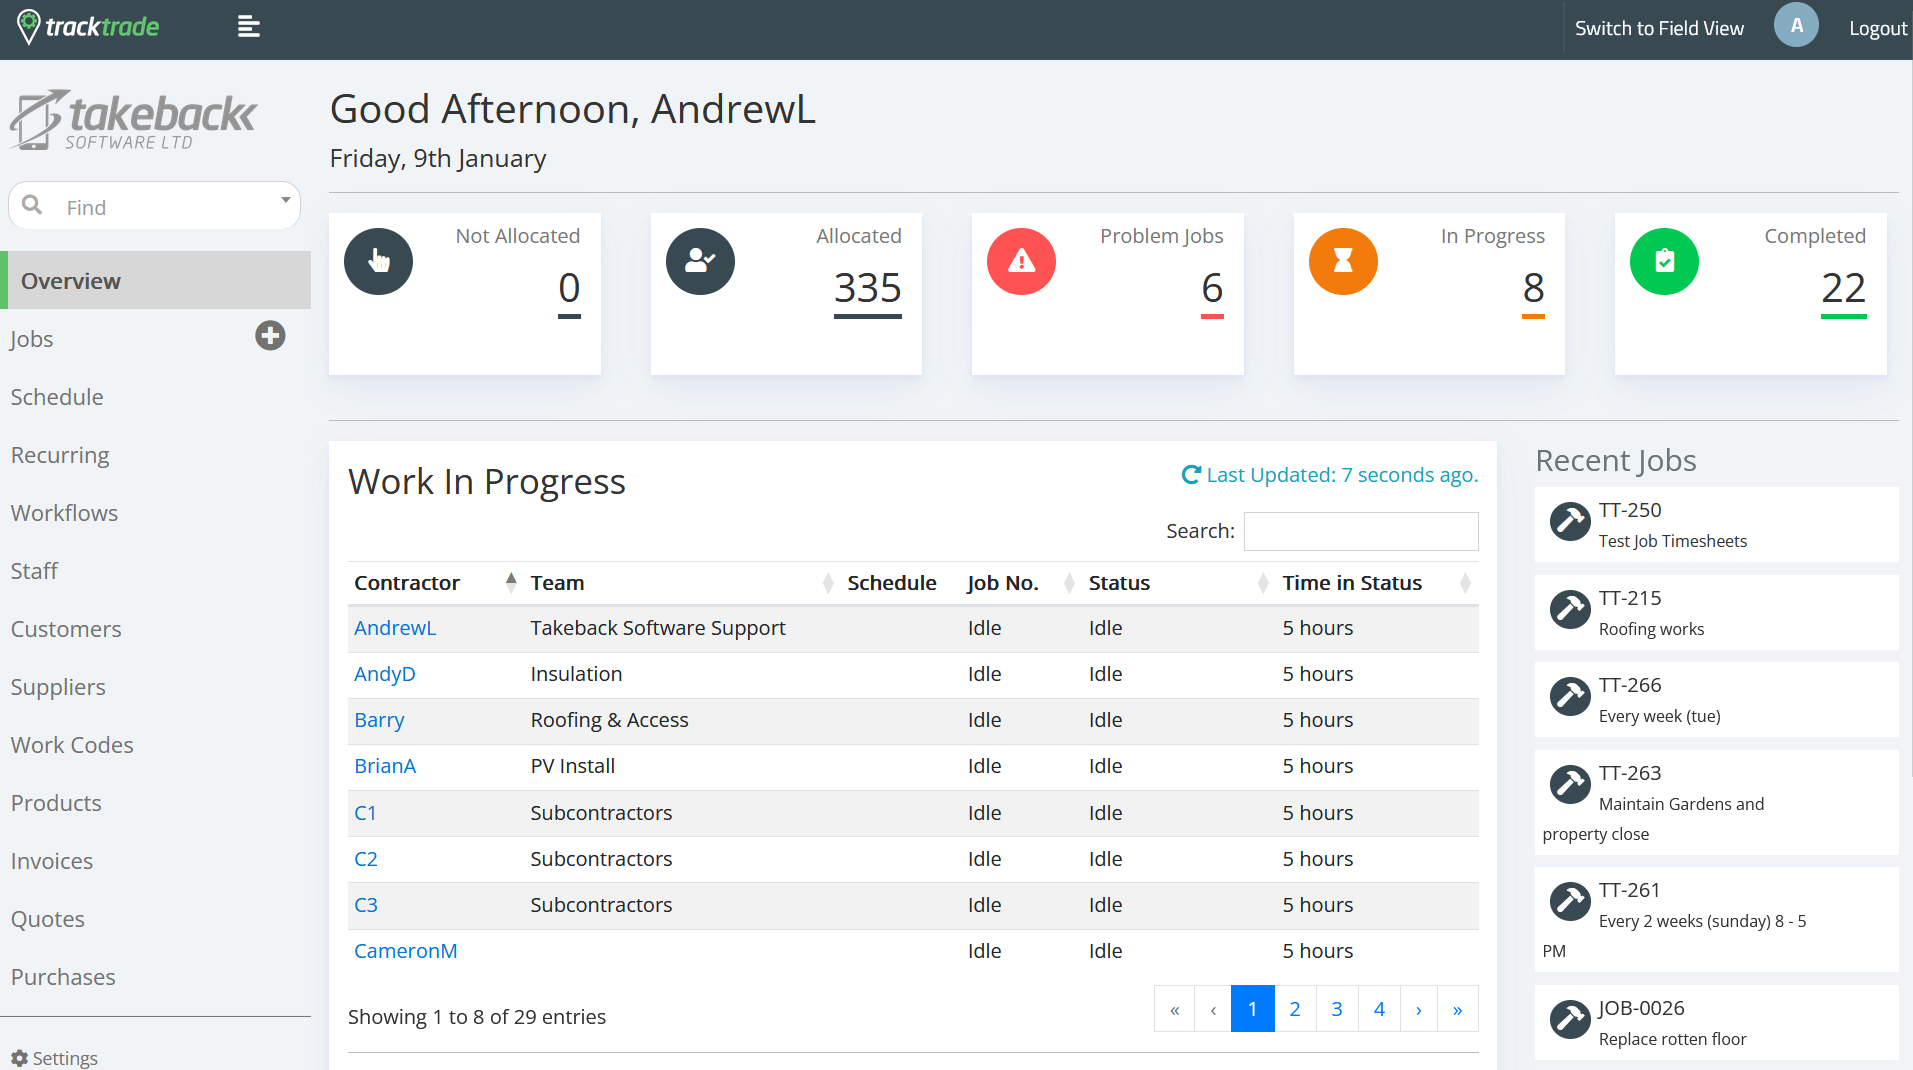
On the left you also have the Sidebar which is your main method of navigating to different sections. Each section presents a table of all of that item (eg. all Jobs or all Quotes) which you can filter and search to find what you need.
A general search is available at the top of the Sidebar and there is also a Settings section at the bottom for general TrackTrade options.
At any point you can also click the 'Switch to Field View' option at the top right. Field Staff (your workers/contractors) can also login to TrackTrade but they have a different and more focused view so it's valuable to let you see what they see at any point!
View all Jobs/Staff/Customers
TrackTrade has an extensive feature set but it's not all needed depending on your use case. However, you will always have Jobs which need to be managed and completed by Staff on behalf of Customers so let's check those out!
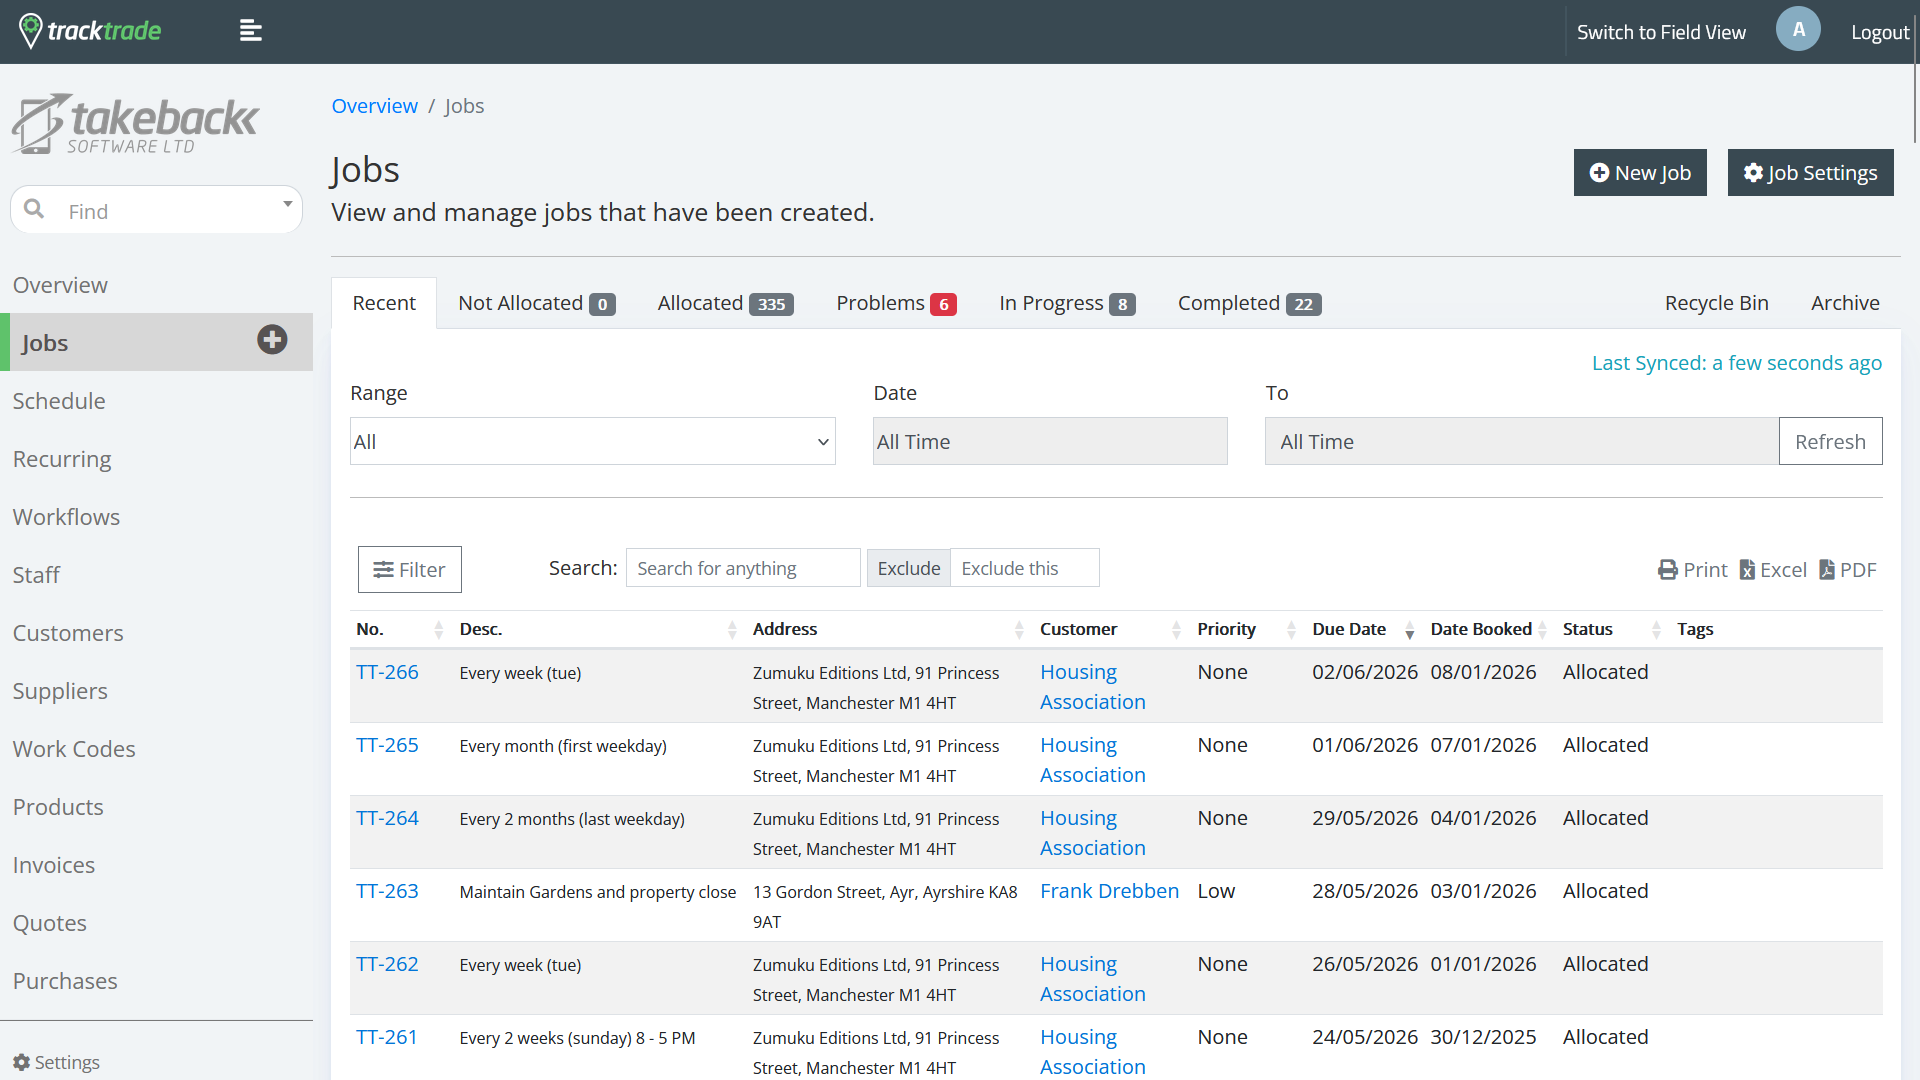
Select Jobs from the side bar. This shows you all Jobs currently in your system.
The Staff and Customers sections are similar in layout and functionality.
Create a Job/Staff/Customer
Within these sections you can create a new entry from scratch in a similar way. Enter the section that you wish to add to. For instance, Staff. Then select the plus icon for a form to popup. Enter the relevant details. Some will be required and some are optional. Hit Create and you have added a new Staff member! You will now see them in the Staff table and they will be available to add to Jobs. You can select the Staff member in the table to go into their profile if you wish to view or edit their details.
Using the Finance Suite
A Job can have multiple financial concerns such as getting relevant Quotes for the work beforehand to then present to a Customer or needing to process Invoices after and you can deal with these and more in our Finance Suite. Let's make a quick Invoice!
You may be tempted to go to the Invoice table through the side bar you can't create an Invoice or Quote by themselves. Naturally, they must be tied to a Job so that is where you need to go to create one.
Head to the Jobs section instead and choose one or create one (see above if you need help with that).
Then head to the Finance section and select 'Create Invoice'.
You now have a blank invoice! Some details will be populated such as the associated Customer name and address if available. You can edit the description or add reference codes as needed.
Hitting the + button lets you add items to be billed.
You can hit View/Print button to see how the generated invoice report looks based on the current data.
When ready, hitting Send to Customer brings up a form to email the Invoice to them.
We've now logged in and taken a very brief tour of TrackTrade.